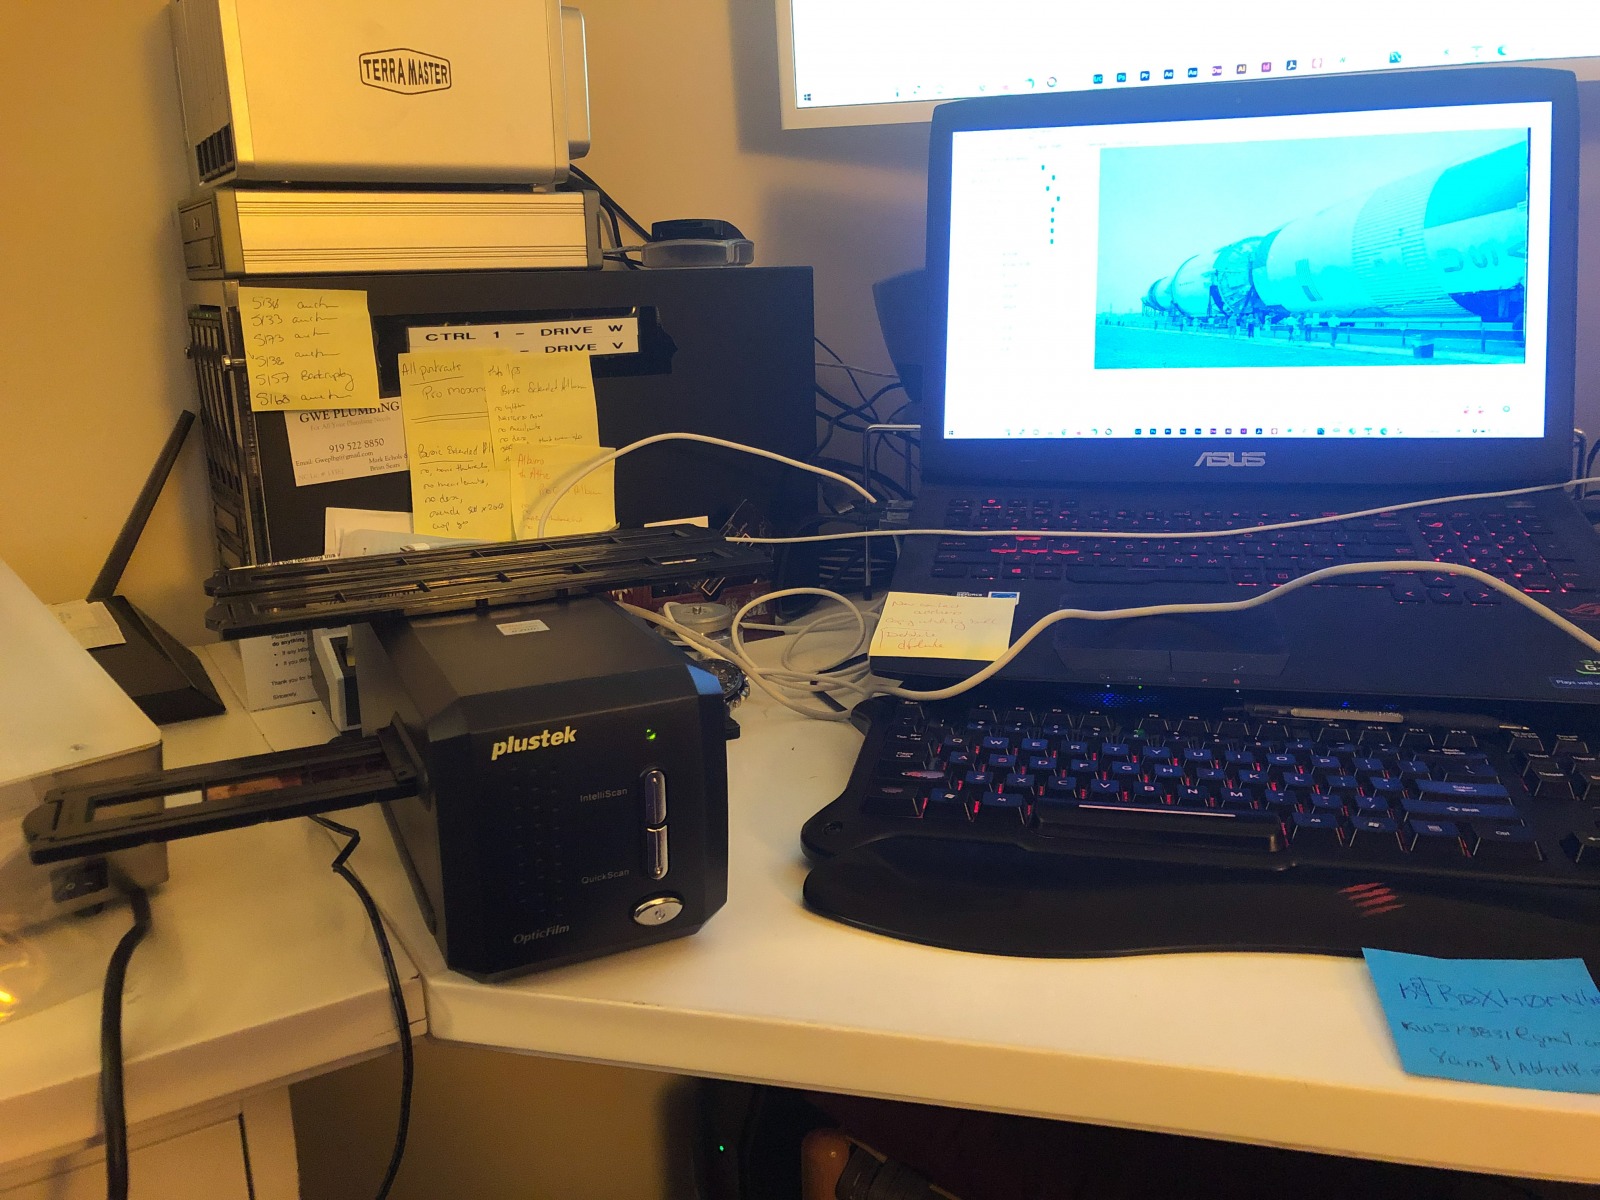
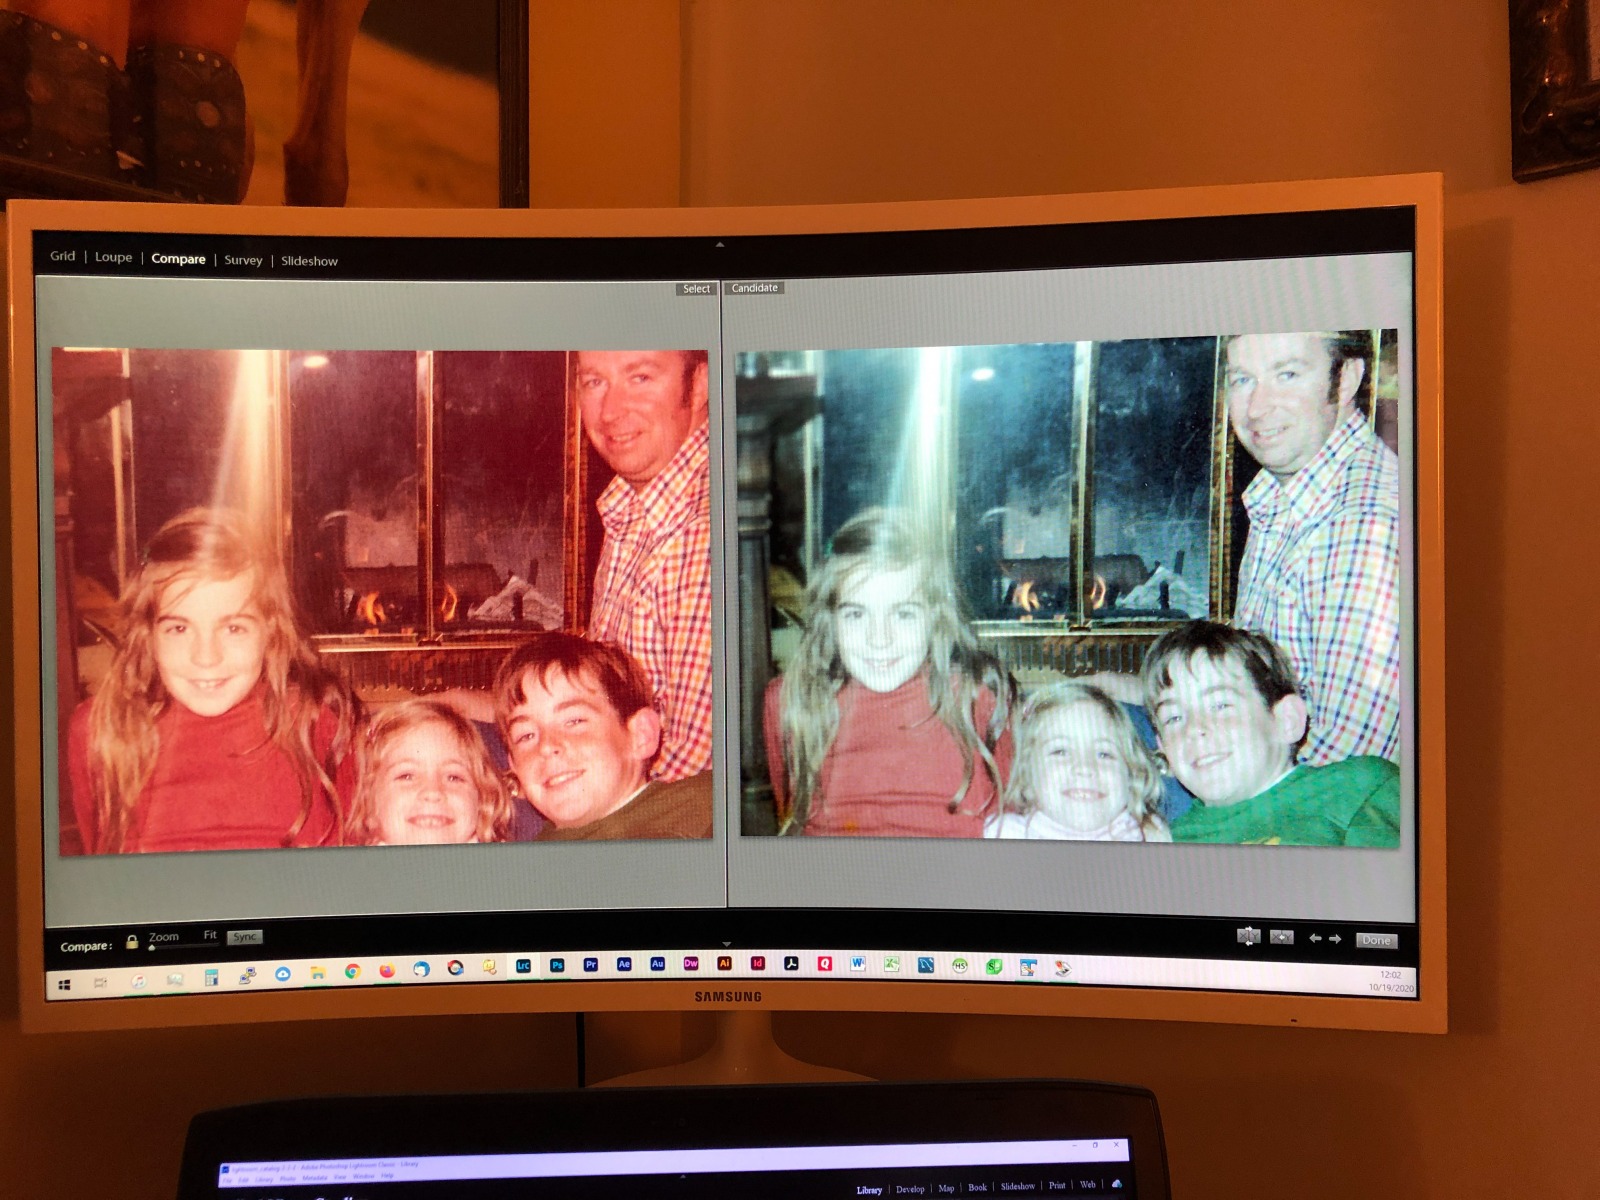
I’ve loved my little PlusTek 8200i film scanner…with the exception of medium format 120 film, it’s handled just about every set of negatives and slides I’ve thrown at it. It is designed to scan 35mm (135 format) film and it does it very well…having three trays to hold the negative strips is very nice as you can scan one set of negatives and have two strips loaded and ready to go.
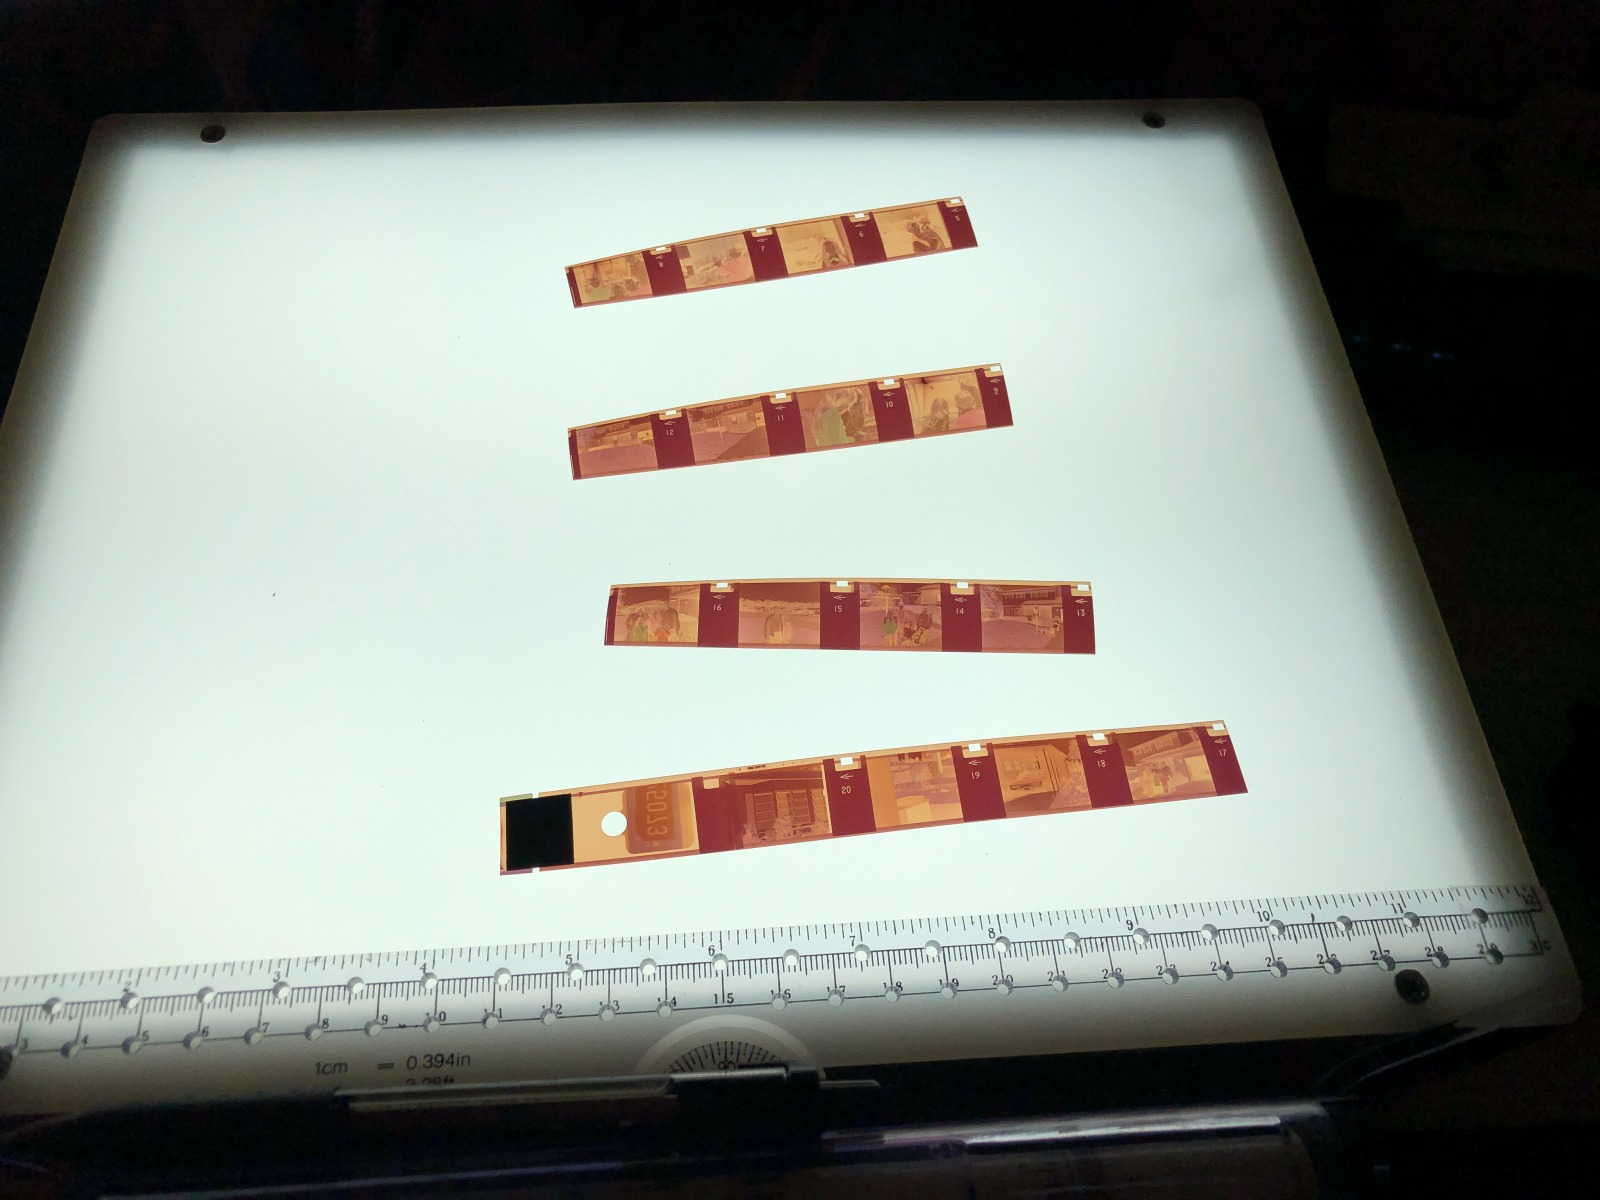
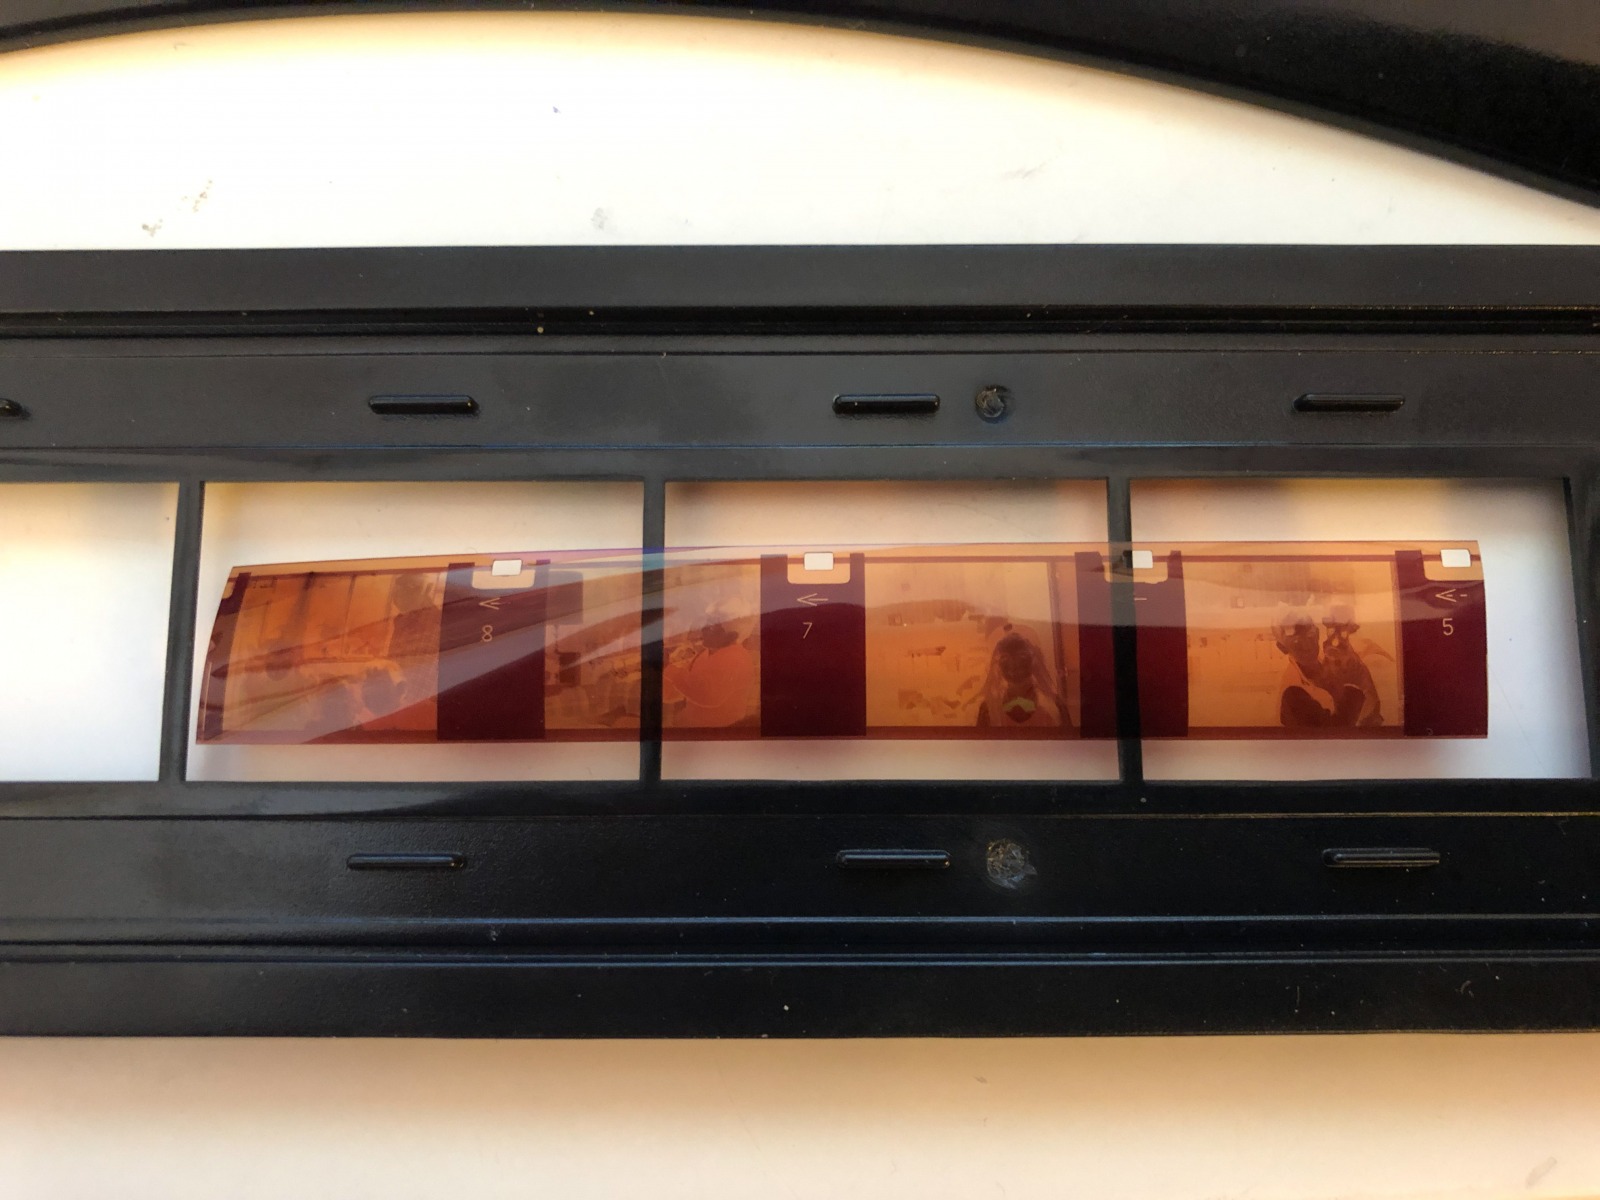
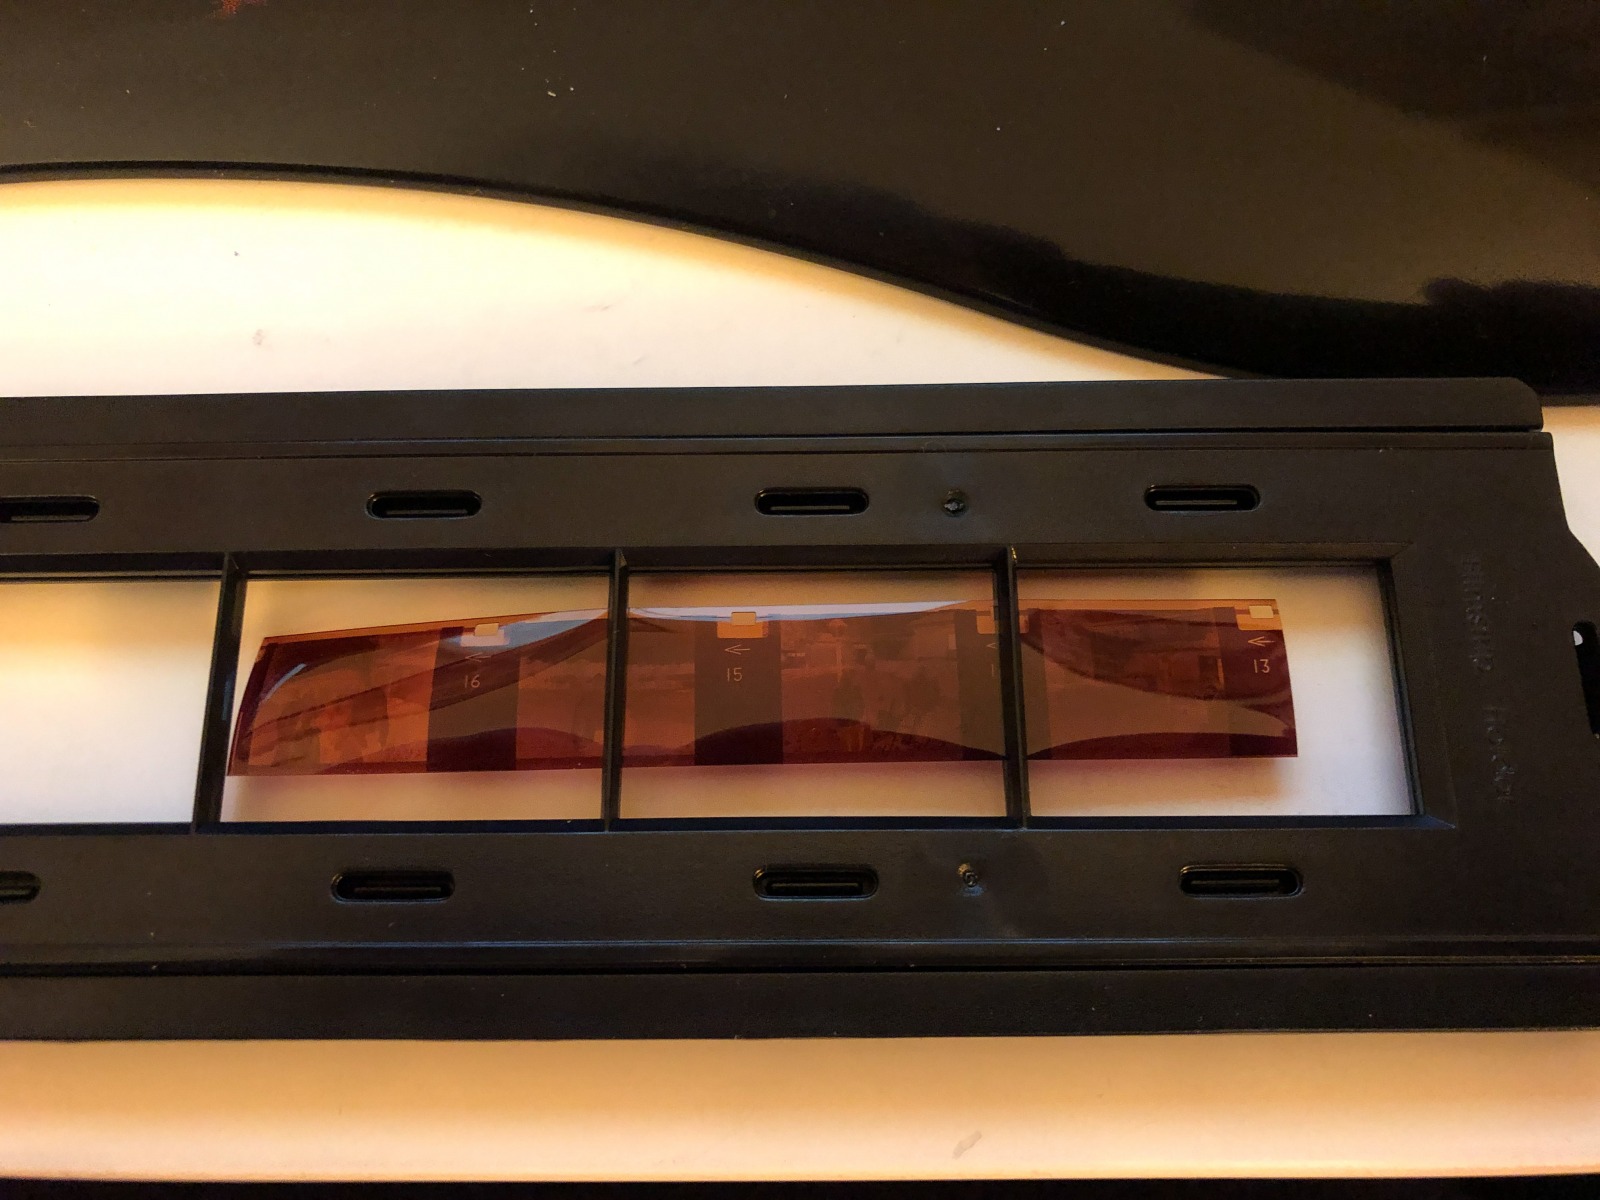
126 format film can get a bit more exciting when it comes to scanning but as long as you straddle the middle bar in the filmstrip holder, you will do just fine and all you have to do is reposition the film as needed.
But 110 film gets to be really tricky because it is much smaller than the 35mm films. But the same technique applies…carefully put the film in the holder and straddle the line as necessary.
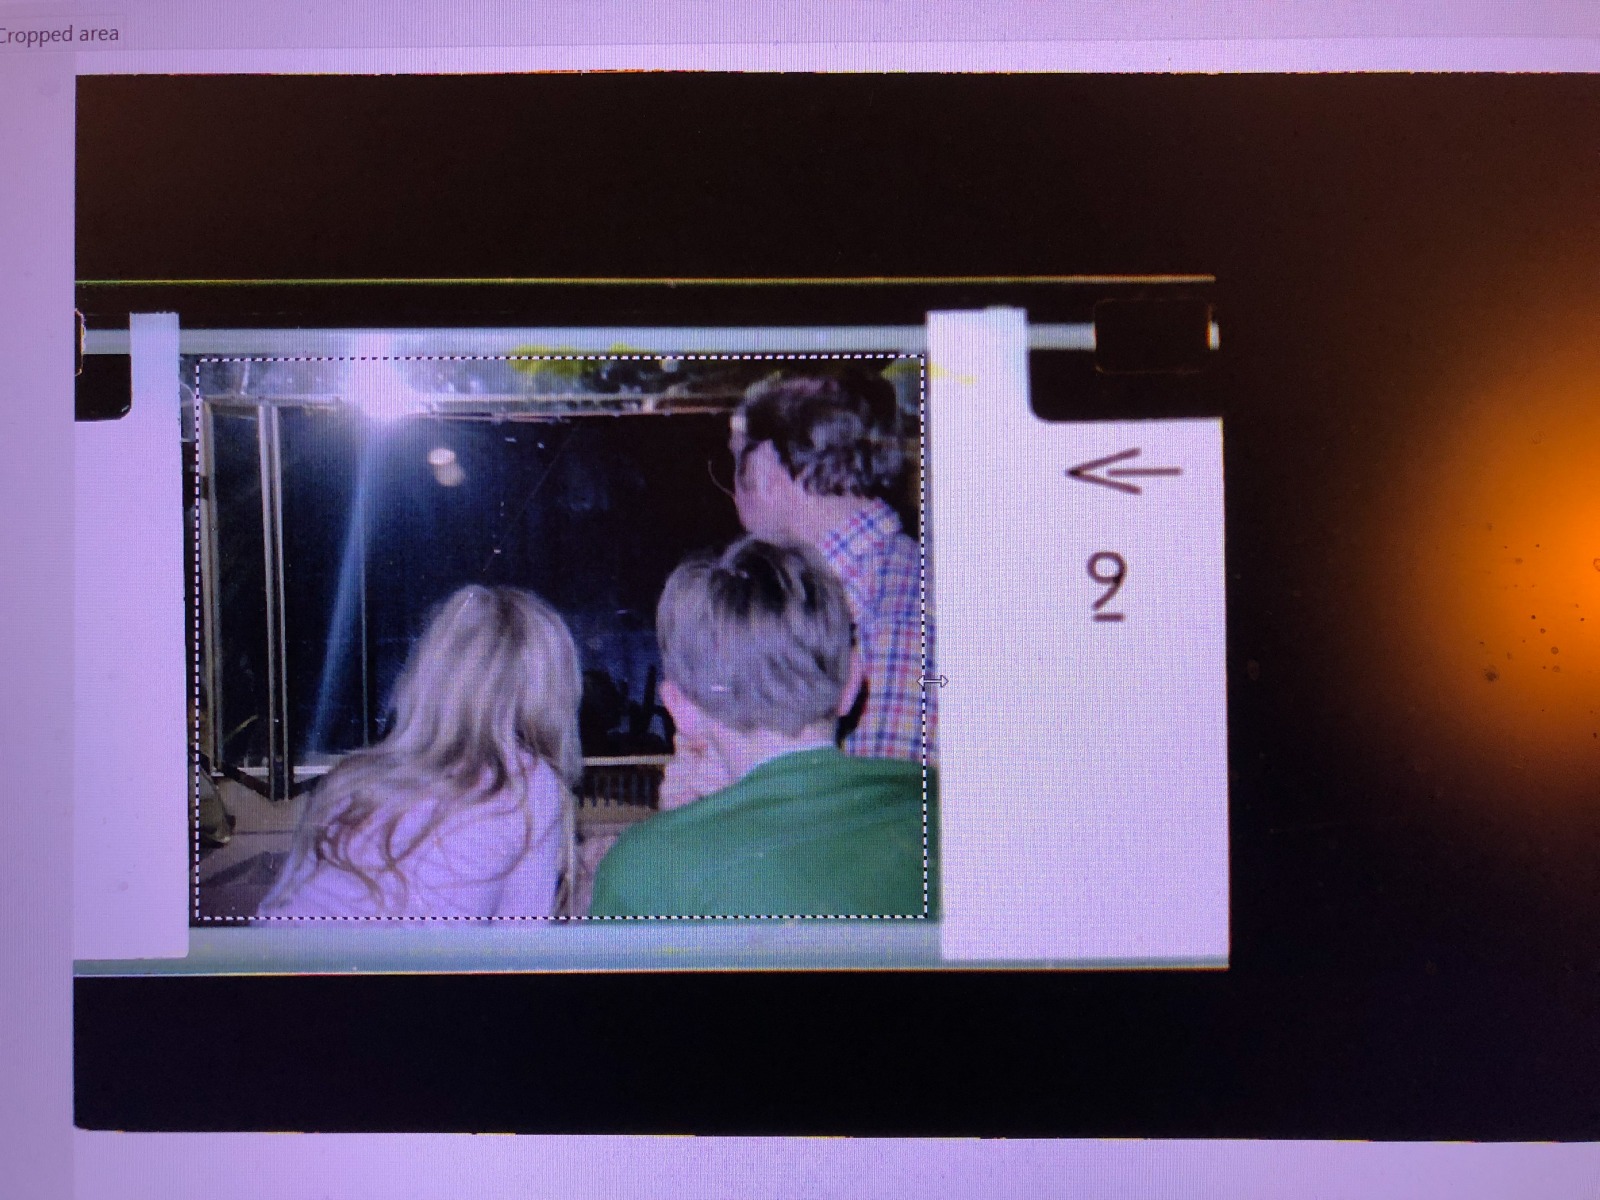
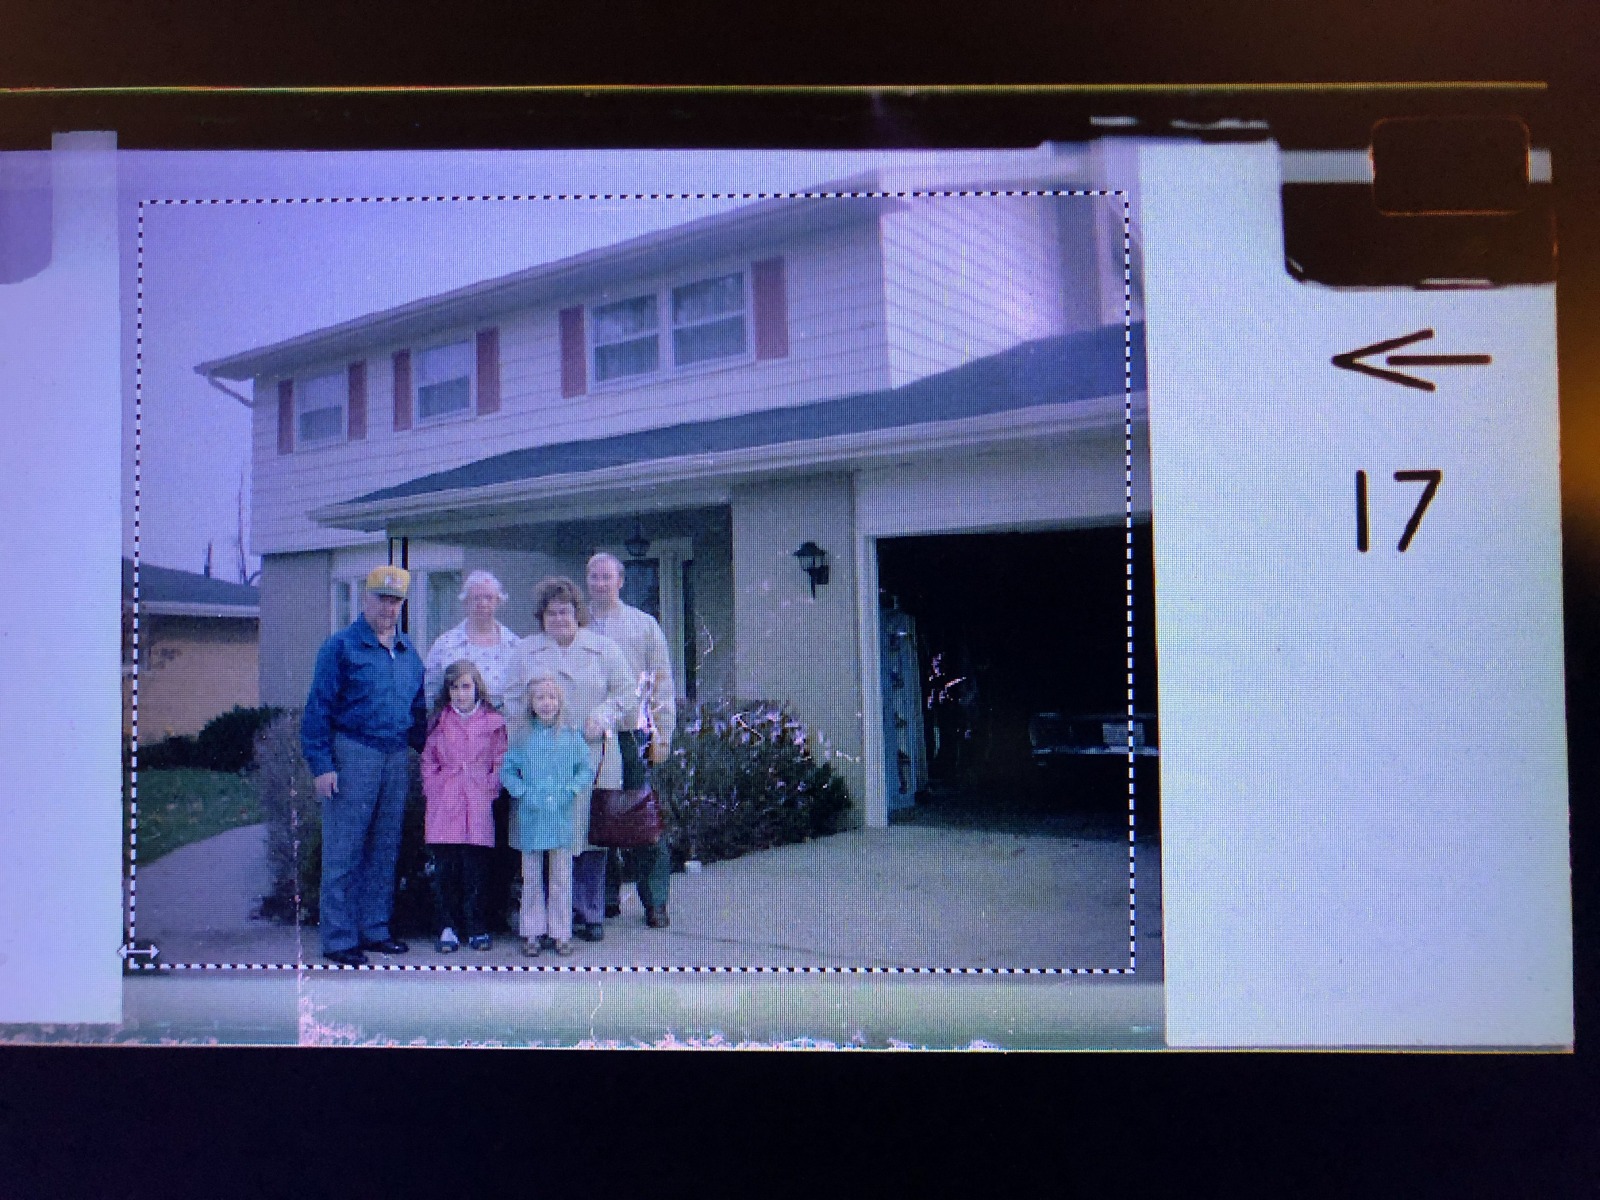
The scanner comes with Silverfast but I’ve found that VueScan Professional is much easier to use and really does a good job with everything I’ve thrown at it through the years. After setting the filmstrip holder in the scanner in the appropriate place…click [Preview] to see the scanned negative, crop it as needed, and hit [Scan] for the final image.
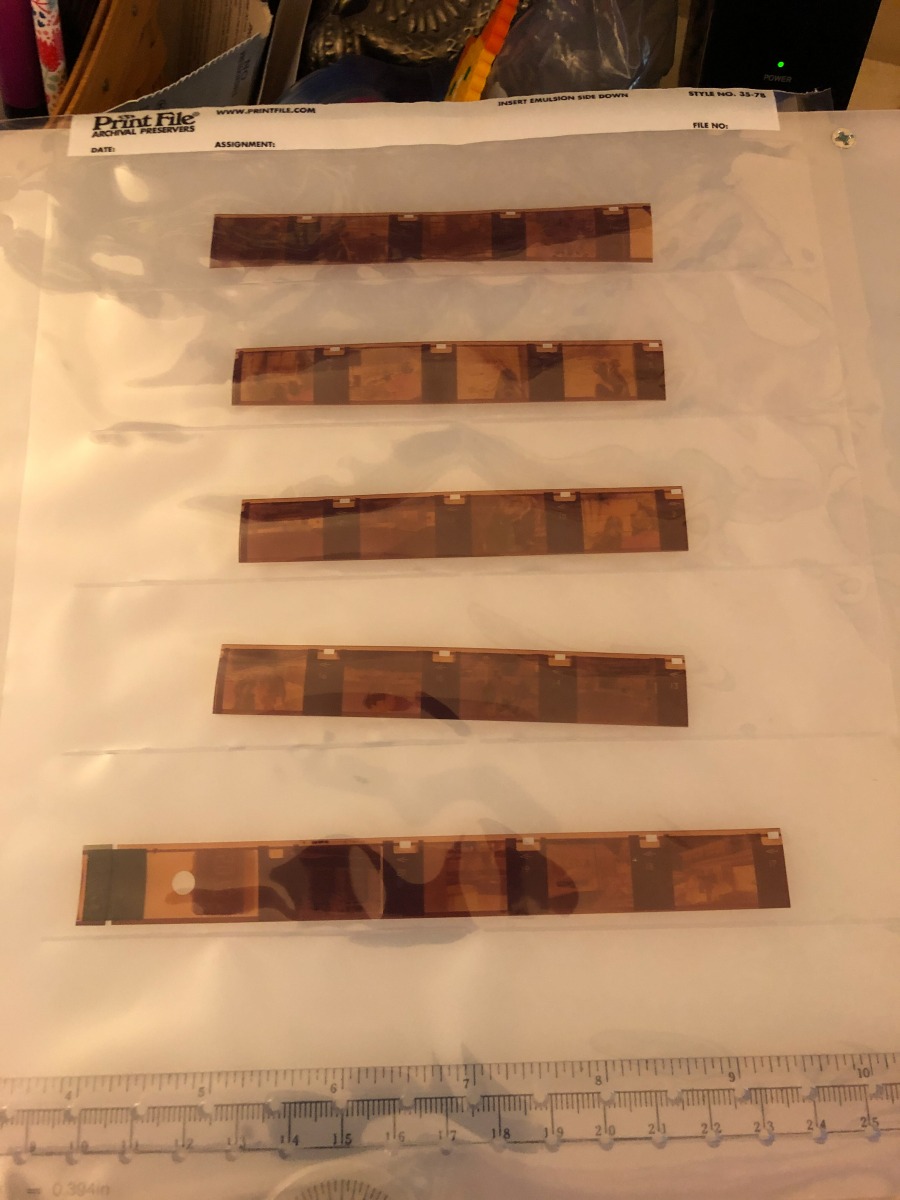
Sadly, finding a decent negative sheet protector for 110 film is next to impossible so I have to make do with the 35mm sheet protectors from Print File which are simply the best negative protection pages out there.
The results of scanning the negatives speak for themselves even though the scanning process takes much longer and occasionally you have to get creative with the positioning of the film in the holder.
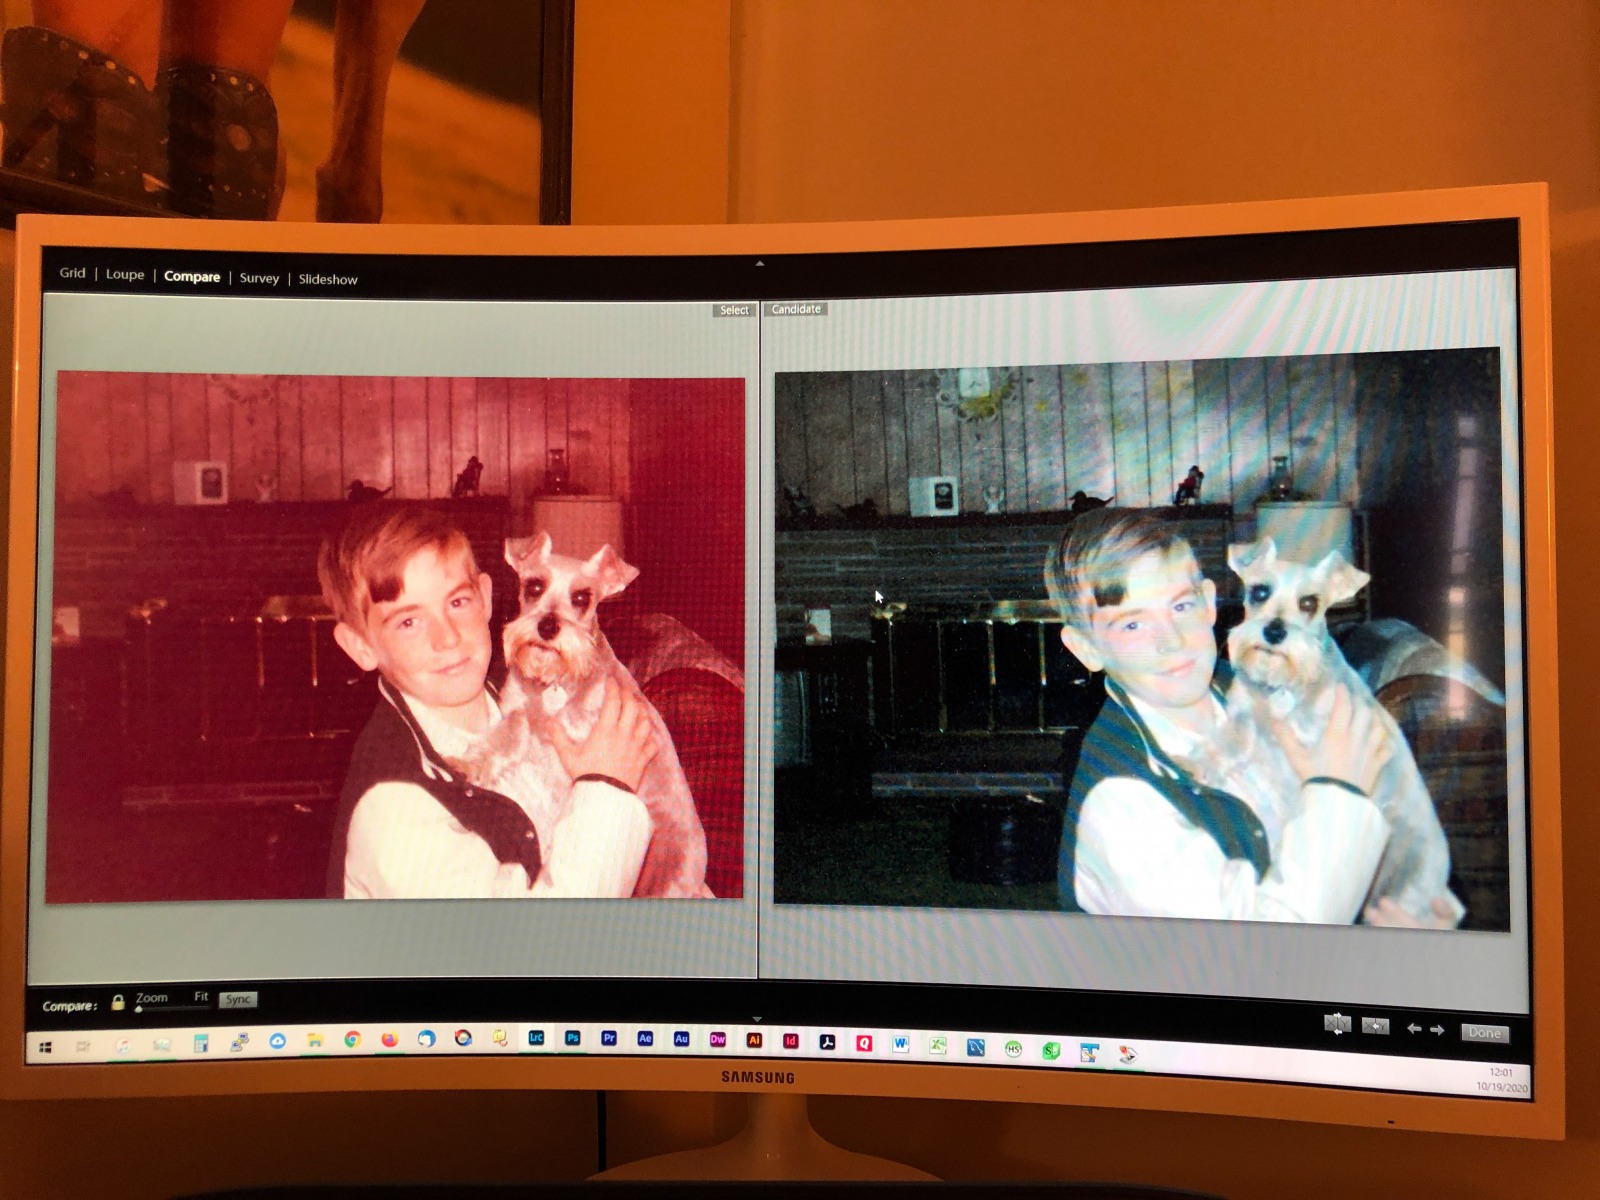
The images on the left were scanned from the prints…on the right is the corresponding image from the negative. No comparison at all in terms of quality and colour.


